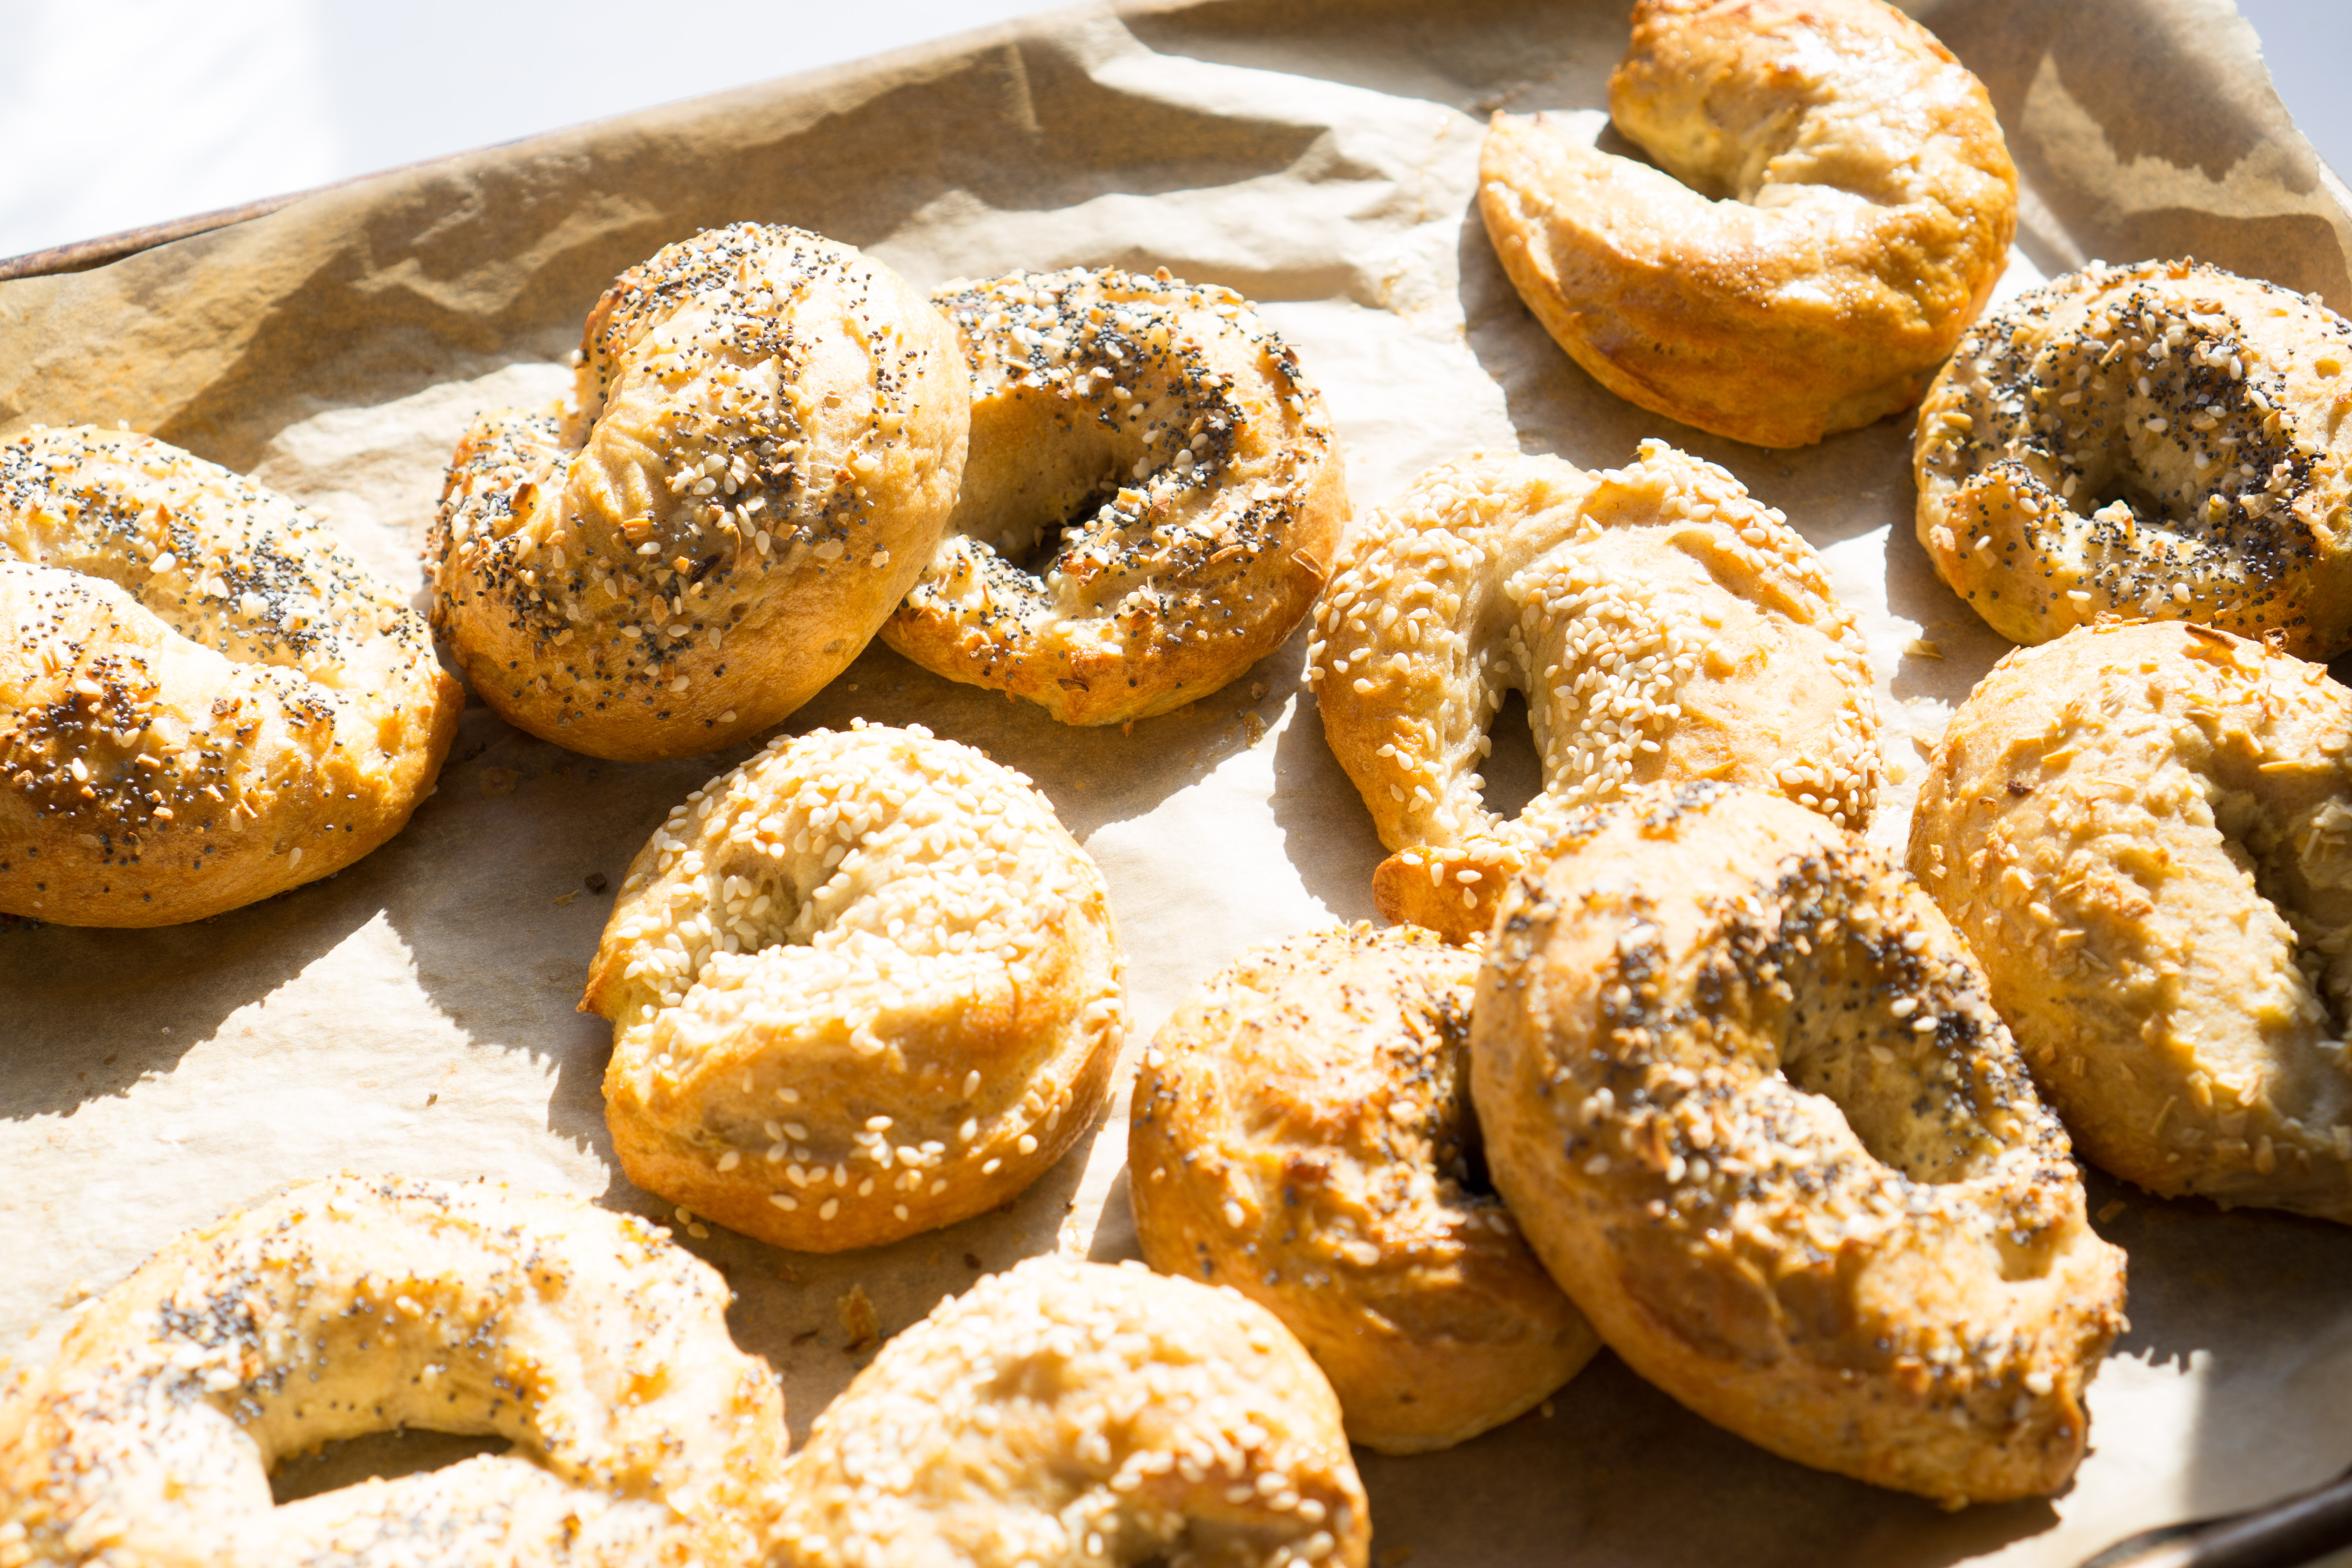
Homemade Bagels for Breakfast
I had great success with Weight Watchers several years ago. After losing about 30 pounds, I had an overuse kneed injury that required surgery. Even without working out, I was able to maintain most of that weight loss for months…until the holidays. Winter is my comfort food time, and I love holiday food. After two years, a pregnancy, and infertility medication, the weight had all come back. So, like millions of Americans, I made a New Years Resolution with the family to start the new Weight Watcher’s program, Freestyle. We officially started mid-January and I’ve already lost nearly 8 pounds. I started working out last week, mainly delayed because of the grading that came along with the end of the marking period and midterm exams. I find to be my most successful, I need to eat real foods and watch my portion size. Enter homemade bagels at only 4 Freestyle points!
We’re lucky to have a wonderful bagel place just minutes from our house. Every morning, the line is out the door and if you get your sleepy butt there by 10 a.m., you’re practically assured a warm bagel. Too many places around us–yes, even in the New York City suburbs!–have bagels that are nothing more than round bread. A bagel should be dense and chewy, never hollow or plasticy. But, at 11 points per bagel, what’s a weight watcher supposed to do?
Thank you Skinnytaste!
Skinnytaste has become my go-to for Weight Watcher resources. Not only does she calculate the points for you, but she has a great selection of Instant Pot recipes. When a friend posted her Easy Bagel Recipe I was skeptical that a. they’d be easy, and b. they’d be good. But, for three points, I was willing to gamble 15 minutes of my time to whip up a batch. Low and behold, they were perfect! No yeast, no special equipment, the bagels were mixed, needed, and rolled in about 20 minutes and baked in another 25.
Still, an hour can be a long time to wait on a weekend morning when I’m hungry and need to get on with my day. So, first I doubled the recipe, then I tripled, and finally quadrupled the recipe–and it worked every time! With 12 bagels for the 3 1/2 of us, we eat what want fresh, put the next day’s in the fridge or counter, and can freeze the rest.
Homemade Bagels the Basic Recipe
1 c. flour (white or half whole wheat and half white)
2 tsp. baking powder
1 scant tsp. salt
1 c. Greek yogurt (WW people will want to use fat-free; pour off any whey)
1 egg beaten with a little water for an egg wash
Directions
First things first, if you’re going to boil your bagels (optional, see number 2 under “Notes” below), place a covered pot of well salted water on the stove under high heat. There should be at least 4 -6 inches of water in the pot. A dutch oven works well.
Preheat the oven to 425 degrees. Line a cookie sheet with a silpat or parchment paper.
Mix the dry ingredients together well with a fork or whisk.
Add the yogurt and mix well. I like a nice “cutting” method: stir from the bottom, up the side, over the top, and down through the middle. Stir until all the yogurt is well incorporated. The mixture may be a bit crumbly.
Turn out onto a cleaned and floured surface. Knead approximately 15 – 25 times. I love kneading! The rhythmic movements and firm pressure is so relaxing. Kneading helps activate the gluten in the flour, so really get in there: turn the dough and press down, repeat. If the dough is wet, you can add more flour. On rainy or high humidity days, I find I add considerably more flour to keep the dough from being too sticky. Whole wheat flour also absorbs less liquid so may require you to use more flour if you’re using a whole wheat/white mix.
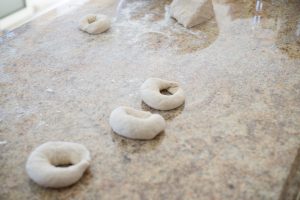
When the dough comes together into a nice ball, you’re ready to roll: literally. Cut the large ball into fourths. Roll each of the fourths into a long snake, joining the two ends together to make a bagel ring. If you’re boiling, make sure to really pinch those ends together!
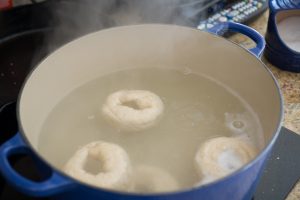
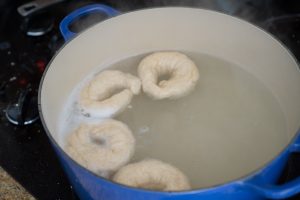
Boiling – Optional
Once your four bagels are rolled, ringed, and pinched, take the lid off your water. A slower boil will help keep your bagel intact. Lower your bagels into the water using a slotted spoon, hot pot skimmer, or the like. I can usually get all four in quickly. They’ll sink at first. Make sure they’re not sticking to the bottom (especially if you’re doing multiple batches and the water has time to boil off). They’ll start to float in about a minute. Once they float, allow them to cook for another 30 seconds, flip, and cook for another minute. When they’re done, transfer to a lined cookie sheet about an inch apart.
Baking – Not Optional
If you’re not boiling your bagels, simply lay the bagels on a lined cookie sheet about 1 1/2 inches apart.
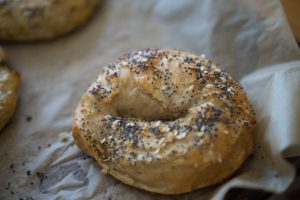
Once the bagels are on the cookie sheet, brush lightly with the egg wash. Top with your choice of seasonings: garlic, onion, poppy seeds, sesame seeds, or everything! (Sooner or later I’ll get around to testing Asiago cheese and a cinnamon raisin.) Bake for 25 – 30 minutes until the outside is golden brown and crusty.

Notes
- For our family, four bagels are woefully inadequate. These bagels last much better than store bought (even versus fresh ones), so I quadruple the recipe, freezing the bulk and reserving enough for 2-3 breakfasts. Conveniently, the large Oikos yogurt is exactly 4 cups, so measuring is easy. It may seem like you’re adding a lot of flour when you knead and roll, but make sure you keep the dough from sticking.
- To boil, or not to boil: The first several times I made this recipe, I didn’t boil the bagels. I was actually quite apprehensive the first time I boiled them, fearing they would become “round bread” and lose the chewy, delightfulness. To much pleasant surprise, they were even chewier…and bigger! My conclusion: boil on the weekends and and bake on weeknights, which brings me to…
- If you want a hot bagel and don’t have the time for the whole process, you can make these ahead. Follow the recipe through the kneading stage so the dough isn’t sticky. You have a few options. a. Wrap the whole ball in plastic wrap and refrigerate over night. Knead quickly in the morning to reactivate the gluten, divide, and roll. 2. Divide into balls and wrap each ball individually. Do a mini-knead and quick role to bake an individual bagel.
- If you make the dough ahead, refrigerate and use in a day. I recently left individually wrapped balls in the fridge for three days (Sunday morning to Wednesday evening), and they took on a yogurt smell and taste. It wasn’t bad, it certainly didn’t stop me from enjoying my bagel, but be forewarned.
Well, there you go. With five pantry staples, you’re less than an hour away from fresh, hot bagels!


One Comment
admin
I’ve updated the temperature of the oven to 425 degrees. After playing around with the recipe, I’ve found the slightly hotter oven results in a browner but more authentic outer shell. Make sure you coat the bagel thoroughly with the egg wash to insure the best results.